
Initial Setup
Step 1: Access the interface
- After installation and launch, access the TrueStack server by it’s public IP. This will start the Setup process, during which you will configure HTTPS certificates and from then on, HTTP will only be used for renewals of that certificate. Once HTTPS is set up, all requests to HTTP will just return a 301 redirect.
- Inbound ports: Open port 80, 443 TCP from anywhere 0.0.0.0/0 to the TrueStack server. These ports are required and used for the TrueStack interface and Let’s Encrypt. Port 443 may also be used to route all traffic through the VPN tunnel if this is turned on for a computer.
- Open 7473 UDP from anywhere 0.0.0.0/0 to the TrueStack Server. This port is required and is used for the VPN tunnel.
- Optional: Open SSH 22 to your IP if you want to SSH into the linux interface of the server. You may need to do this to get the hostname and perform other tasks. See below.
- Open 7473 UDP from anywhere 0.0.0.0/0 to the TrueStack Server. This port is required and is used for the VPN tunnel.
- Outbound ports: Open all outbound ports to anywhere 0.0.0.0/0. This allows the instance to reach the internet.
- At first launch access the server using http://virtualmachineIP, not https://virtualmachineIP. The initial set up uses port 80 to configure your custom URL before obtaining a certificate from Let’s Encrypt and redirecting to port 443 on your custom URL. In the future you will use https://customURL.
- Note: Some browsers automatically redirect to https://. You may have to to manually type or change the url to http:// to access the initial setup.
Step 2: Authenticate
- You will be prompted for either a hostname or an Instance ID depending on where the instance was launched from.
- If you’re prompted for the hostname, SSH into the TrueStack server instance and type “hostname” to find the hostname of your instance.
- Note: AWS instances will require the Instance ID, such as “i-abcdefghijk”. Azure will require the Machine Name. Instances installed on any other platform or manual installs will use the hostname.
Step 3: Accept EULA
- Please read the displayed End User License Agreement. Click accept and continue.
Step 4: Registration
- Optionally register with TrueStack, Inc to receive important updates and security notices. This email address will never be shared with a third party is only for important updates. However you can also subscribe to the Newsletter to get an occasional helpful article.
- This information is sent to a central TrueStack server via a secure HTTPS connection.
Step 5: Configure Hostname
- In order to enable HTTPS, we must be able to get a TLS Certificate from Let’s Encrypt, but they do not allow certificates for IP addresses. So a hostname is required. You can either configure your own, such as by setting up a subdomain of an existing domain, like “truestack.mycompany.com” or you can rent a subdomain of “truestack.net” for free as long as this instance is in use. Subdomains are allocated on a first-come, first-serve basis. If your server is disabled for more than 30 days, this subdomain will no longer be reserved and could be registered by someone else.
Step 6: Get and install HTTPS TLS Certificate
- We have partnered with Let’s Encrypt to enable quick and easy HTTPS certificate request and renewal. Simply accept the Let’s Encrypt Terms Of Service, optionally provide an email address to them, and click continue to automatically request and install the certificiate. Once this is done you will be prompted to restart the web server to enable the certificate.
Step 7: Create your Admin user
- The TrueStack Server allows you to create many different admin users, such as one for each of your team. During Setup, you will create yours so you can log in once Setup is complete. You can create more in the Admin section later.
If you ever lose your password, you can reset it from the command line with:$ truestack reset_password username
Step 8: Choose Timezone and add Subnet
- Choose your Timezone and add your subnet. Finding your subnet will vary depending on which platform you are on.
Setup Complete!
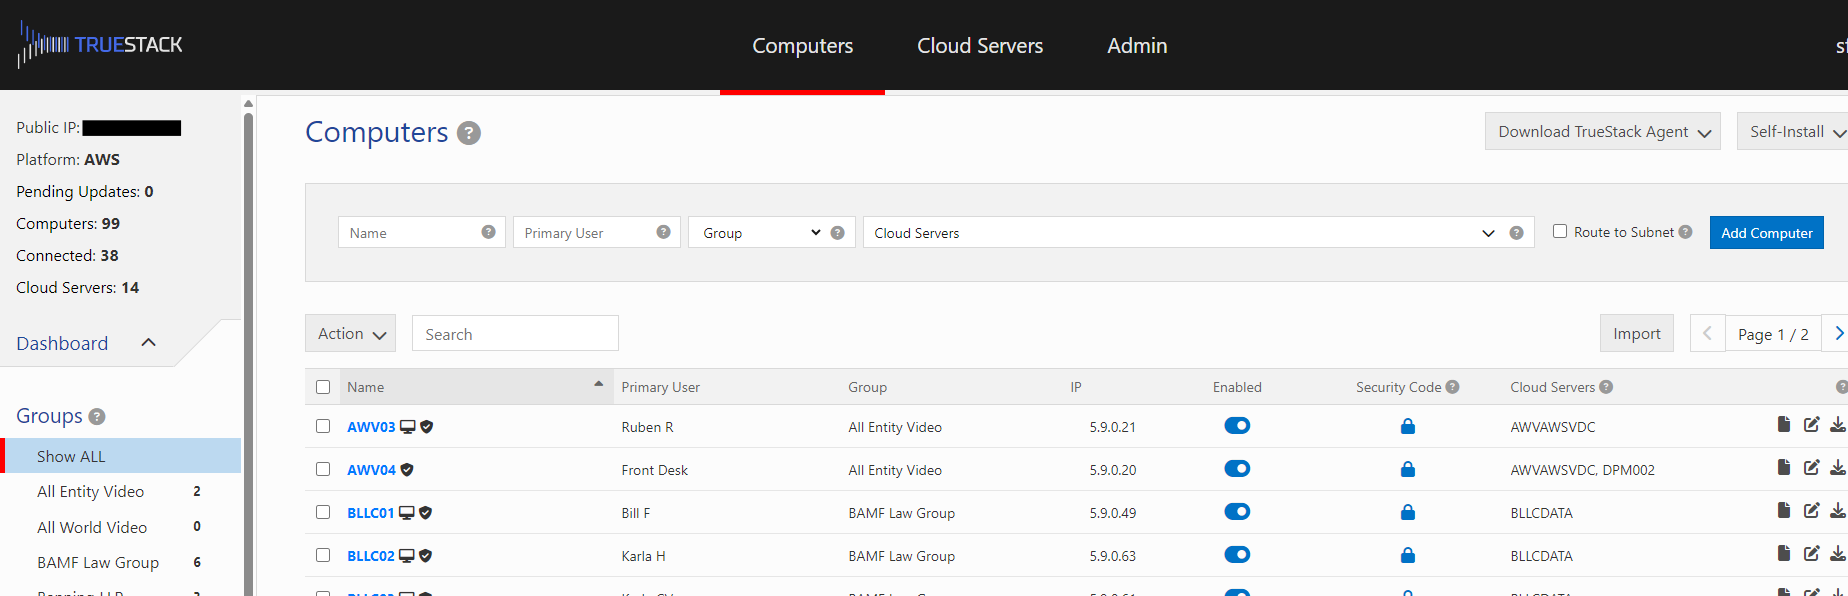
- You may now log in and start using your TrueStack Server.